Linux App
The SDK provides a demo application with source code that enables you to test the integration from day one. This demo provides a fully functional application that uses the Nayax SDK APIs to communicate with the EMV Core. You can use the source application as a foundation for developing your own Linux-based system.
Before starting, ensure your Reader is registered with the Nayax Core system. Without registration, payment transactions cannot be completed. To register your device, provide its Serial Number (SN) to your Nayax account manager.
Installation
The SDK includes the following files:
| File Name | Description |
|---|---|
otiKiosk | The EMV-Core service executable. |
otiKioskDemo | The client Test application executable. |
kiosk-client-library-xxx.zip | Source code (C) and project files for the library and sample app. |
otikiosk-xxx-vvv.zip | Package for TMS remote updates (using CON_PROG command). |
To install the SDK, follow these steps:
- Copy the
otiKioskbinary file to the target device using your preferred transfer method.
The file must remain named
otiKiosk. Do not rename the binary.
- Configure the target system to automatically start the EMV Core binary upon boot or as a managed service.
- Grant the application read and write access to the reader hardware. This typically involves configuring the device management system, such as adding udev rules for:
- USB Reader: USB HID
- RS232 Reader: TTY interface
- Update the permissions of the directory containing the application binary to ensure the process has full read, write, and execute (RWX) access.
- If environment variables are used to specify folder paths for the application:
- Manually create these directories if they do not exist.
- Set the folder permissions to allow the EMV Core application full read, write, and execute access.
Using the Demo Application
To start using the test application, you can follow the steps below:
The zip contains a project with make files, a library, and a sample application with C source code:
- The library named
libotikioskis used to convert the Socket JSON API to C functions. otiKioskDemo: sample application can work in 2 flow modes, Single API and Auto Mode.
Single API flow
See the flow for the single API mode below:
- The application starts in an idle state and presents a simple menu allowing the user to select the required command using the keyboard.
- After selecting the command, it runs the command and goes back to stage (a).
- When selecting
Confirm TransactionorVoid TransactionafterAuthorize Transaction, the The application will use the last transaction ID.
Auto Mode flow
See the flow for the Auto Mode below:
- Run the sample application with the command option:
--auto:$ ./otiKioskDemo --auto - The application starts in the Idle state and shows a welcome message.
- The device calls the
AuthorizeTransactionand shows the price and tells the user to present their card. - After presenting the card, it sends the card data to the server and shows a waiting message.
- The device shows the transaction result and returns to Idle.

Build the Sample Application from Source Code
- Get the sources to your target system. On Ubuntu, unzip the following file:
`EMV-Core Linux SDK v1.4\Linux\x86_64\Sources\Emv-Core-client-x86_64-1.4-97.zip`This will extract a folder named Emv-Core-client containing the application sources and makefiles.
- Install the required build dependencies (Ubuntu Linux):
sudo apt-get update
sudo apt-get install build-essential automake- Build the SDK and demo. The provided sources are pre-configured for Ubuntu Linux x86_64 using GCC and automake:
autoreconf -fi
./configure
make- The build process will generate static libraries and the demo binary under the following directory:
Emv-Core-client/demo/otiKioskDemo. - To run your newly generated application, ensure the binary has the appropriate execution permissions and follow the environment-specific execution steps.
Run the Sample Application
To run the test application executable on Ubuntu:
-
Start the EMV Core (otiKiosk) as explained in the previous section.
-
Run the otiKioskDemo sample application from the same folder as the EMV-Core binary (do not navigate into the demo application folder itself).
-
For example, if your folder structure is as follows:
sdk/
├── nayax-emb
├── otiKiosk <-- File provided with SDK
├── otiKioskDemo <-- File provided with SDK
├── Emv-Core-client/
│ ├── libotikiosk/
│ ├── demo/
│ │ ├── otiKioskDemo <-- Sample application from build
│ │ ├── otiKioskDemo.c
│ │ ├── Makefile.am
│ │ └── .deps/
│ ├── [Additional client files]
│ ├── .vscode/
│ └── m4/
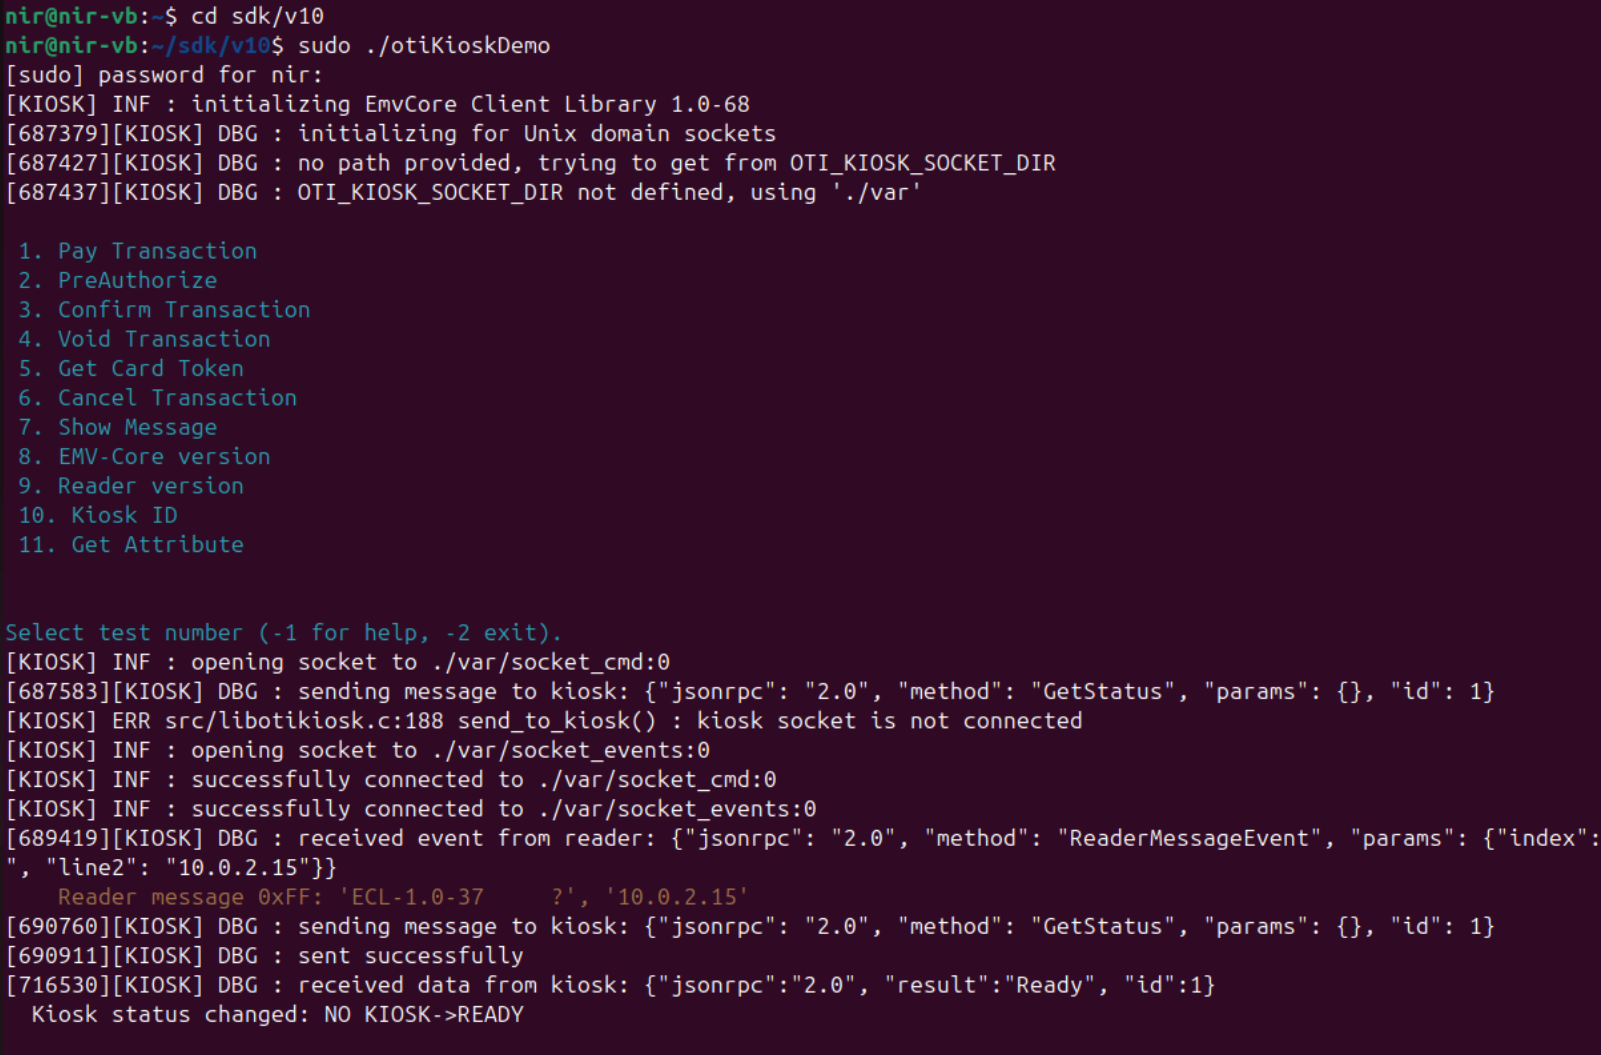
└── [Root level files] You should execute the applications using these commands:
cd sdk
sudo ./otiKioskThe Reader must be registered to the Nayax Core system to complete payment transactions. To register your device, provide the Device ID (Reader serial number) to your Nayax account manager.
Updated about 2 months ago