Set up Queue Permissions
Having created the queue in the previous step, the next task is configuring permissions to manage access. This involves creating a policy, setting up user access, and assigning the policy to the created user. Policies define the actions allowed on the queue and are crucial for controlling access to your AWS resources.
Manage Access to AWS Resources
To begin configuring access to your queue, you first need:
-
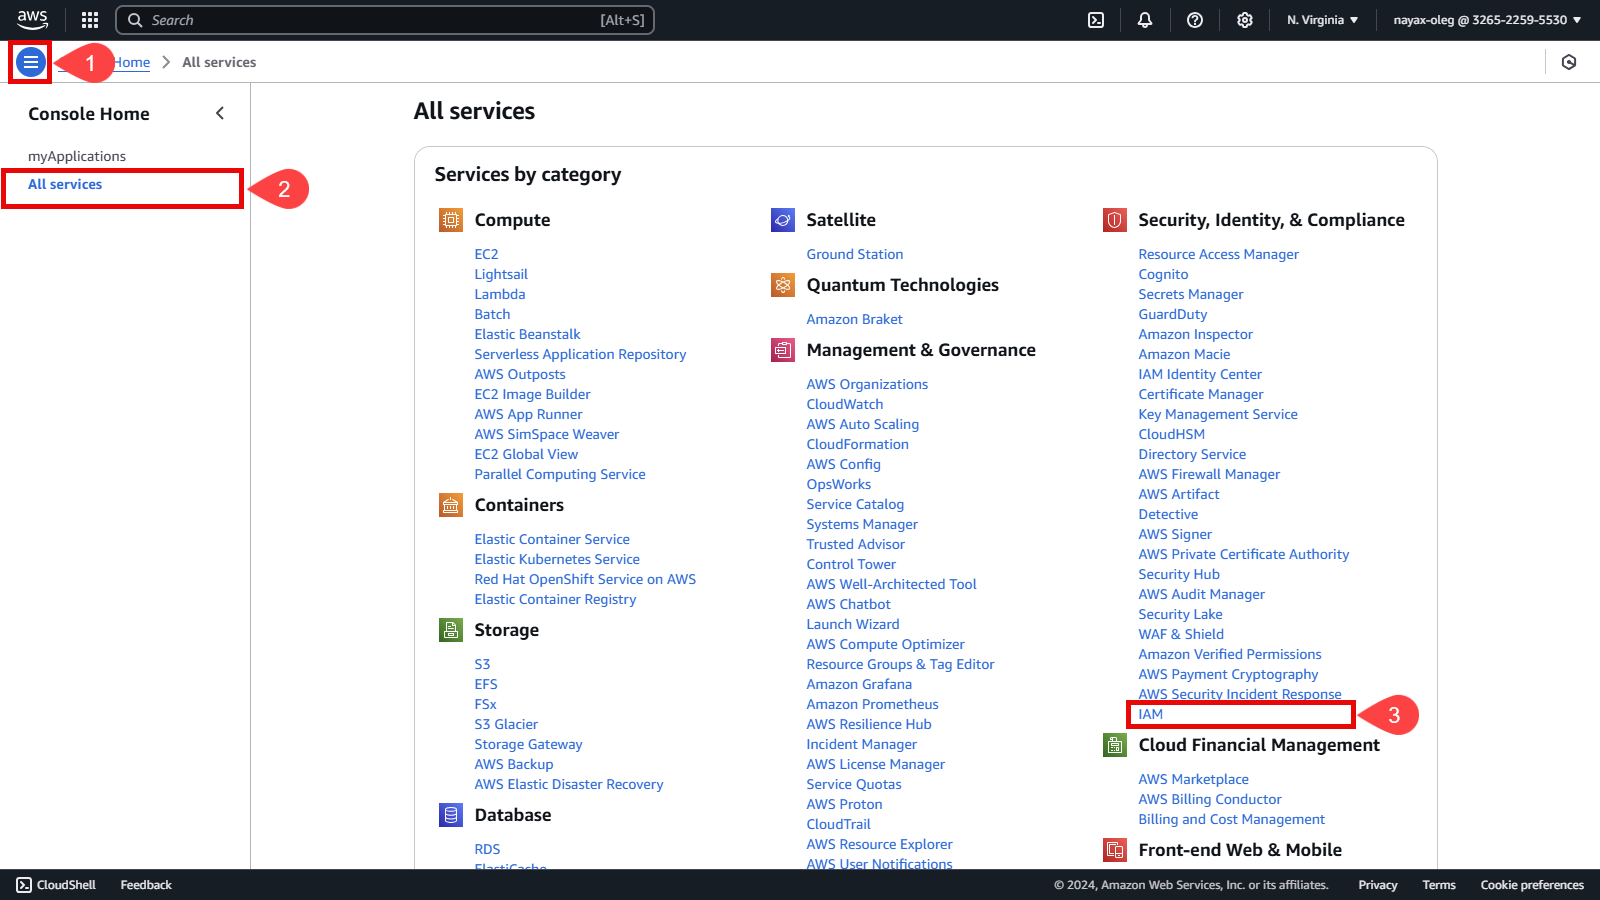
Click the three lines icon located in the upper left corner of the AWS console.
-
Select the All services option.
-
Search the Security, Identify, & Compliance category and select IAM (Identity and Access Management).
-
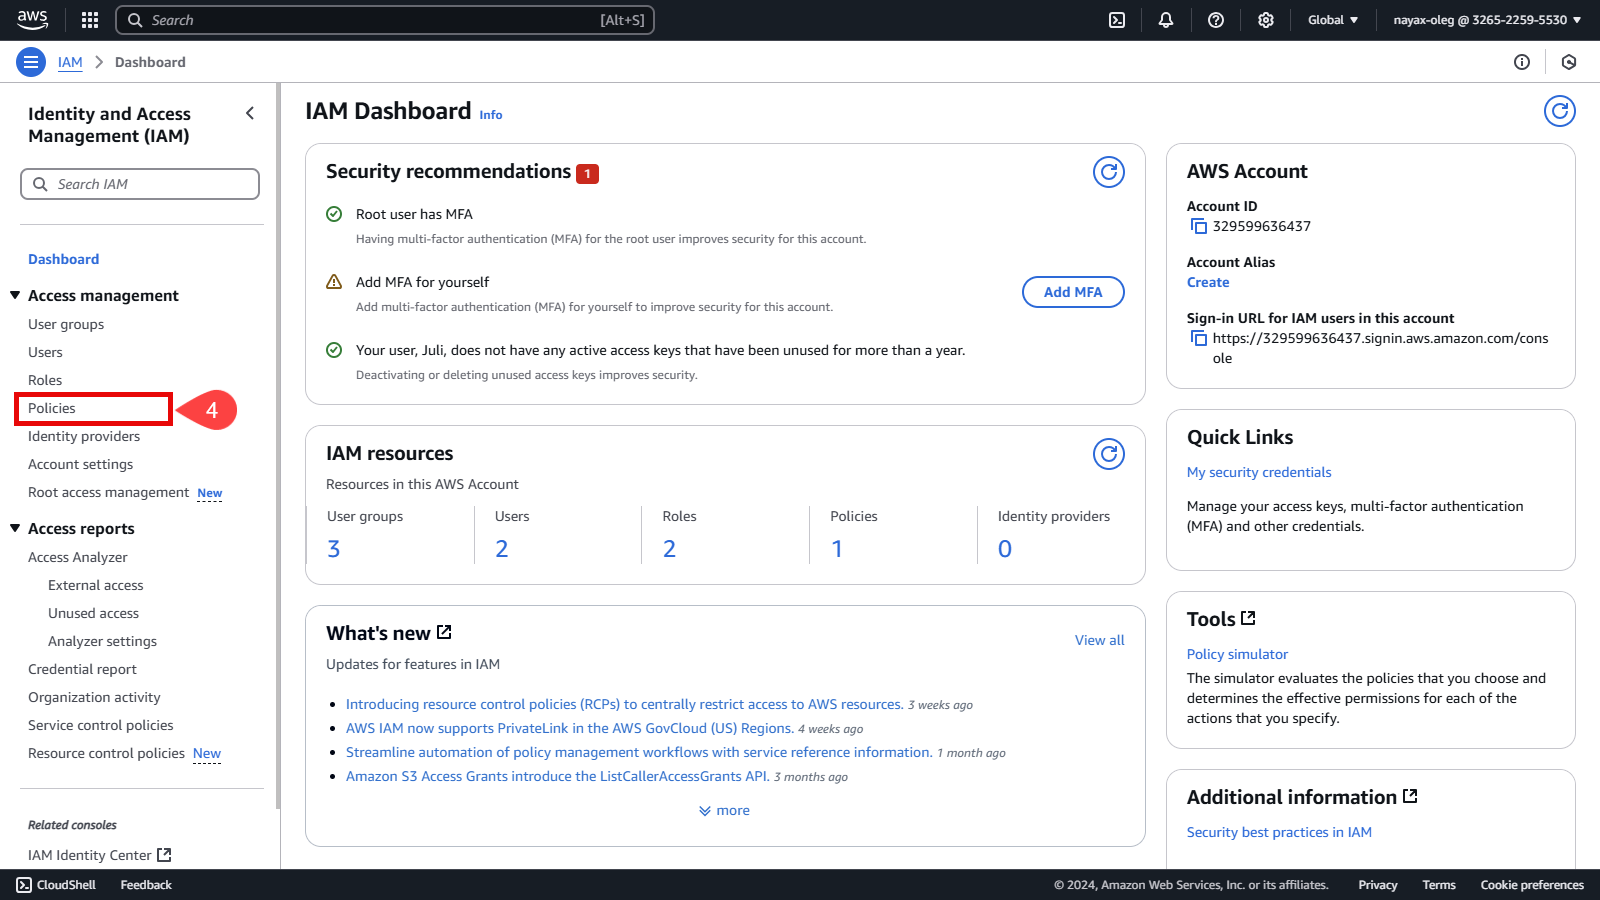
Click Policies on the left side menu.
Create Policy
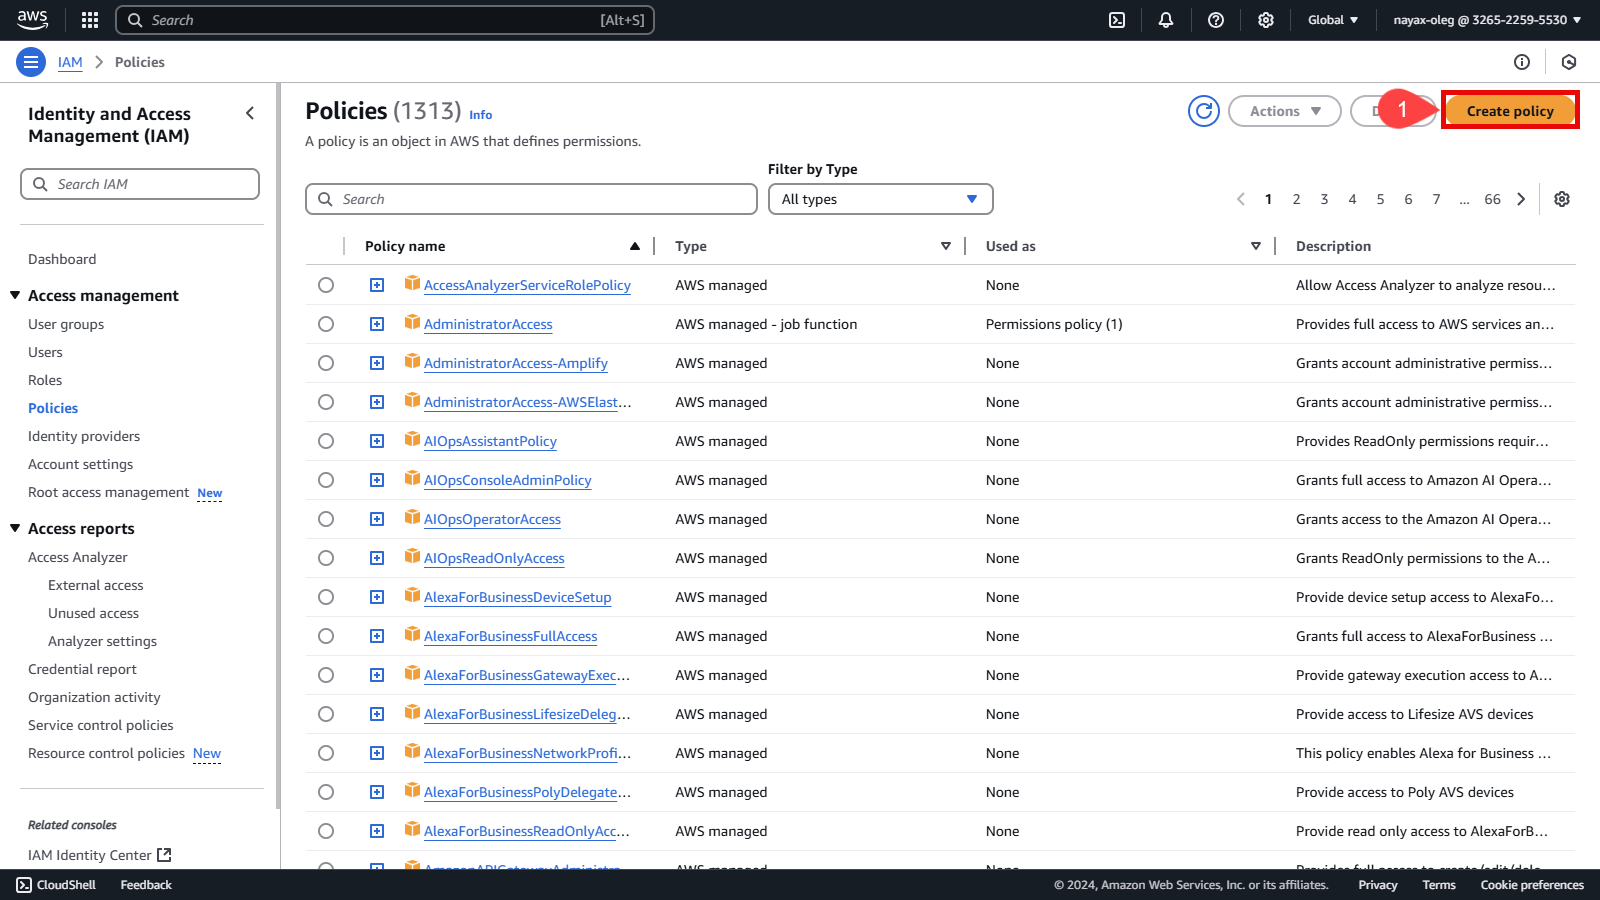
Policies are created to define what actions users can perform on your queue. Follow these steps to create a new policy:
-
Click the Create Policy button.
-
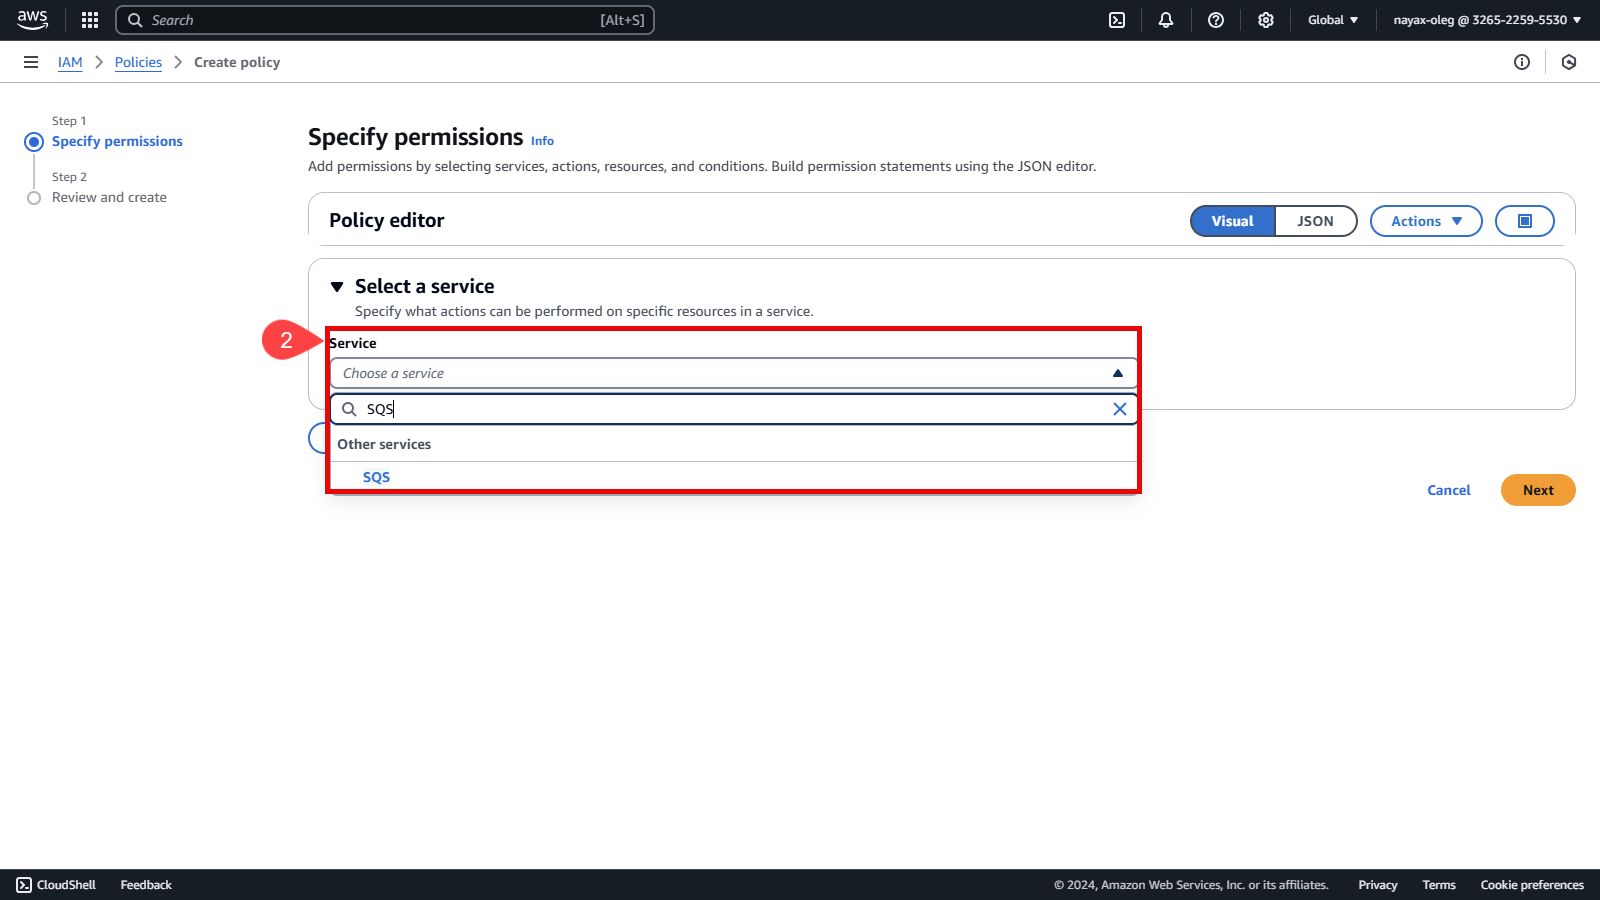
In the Service Choose a service field, search and select SQS.
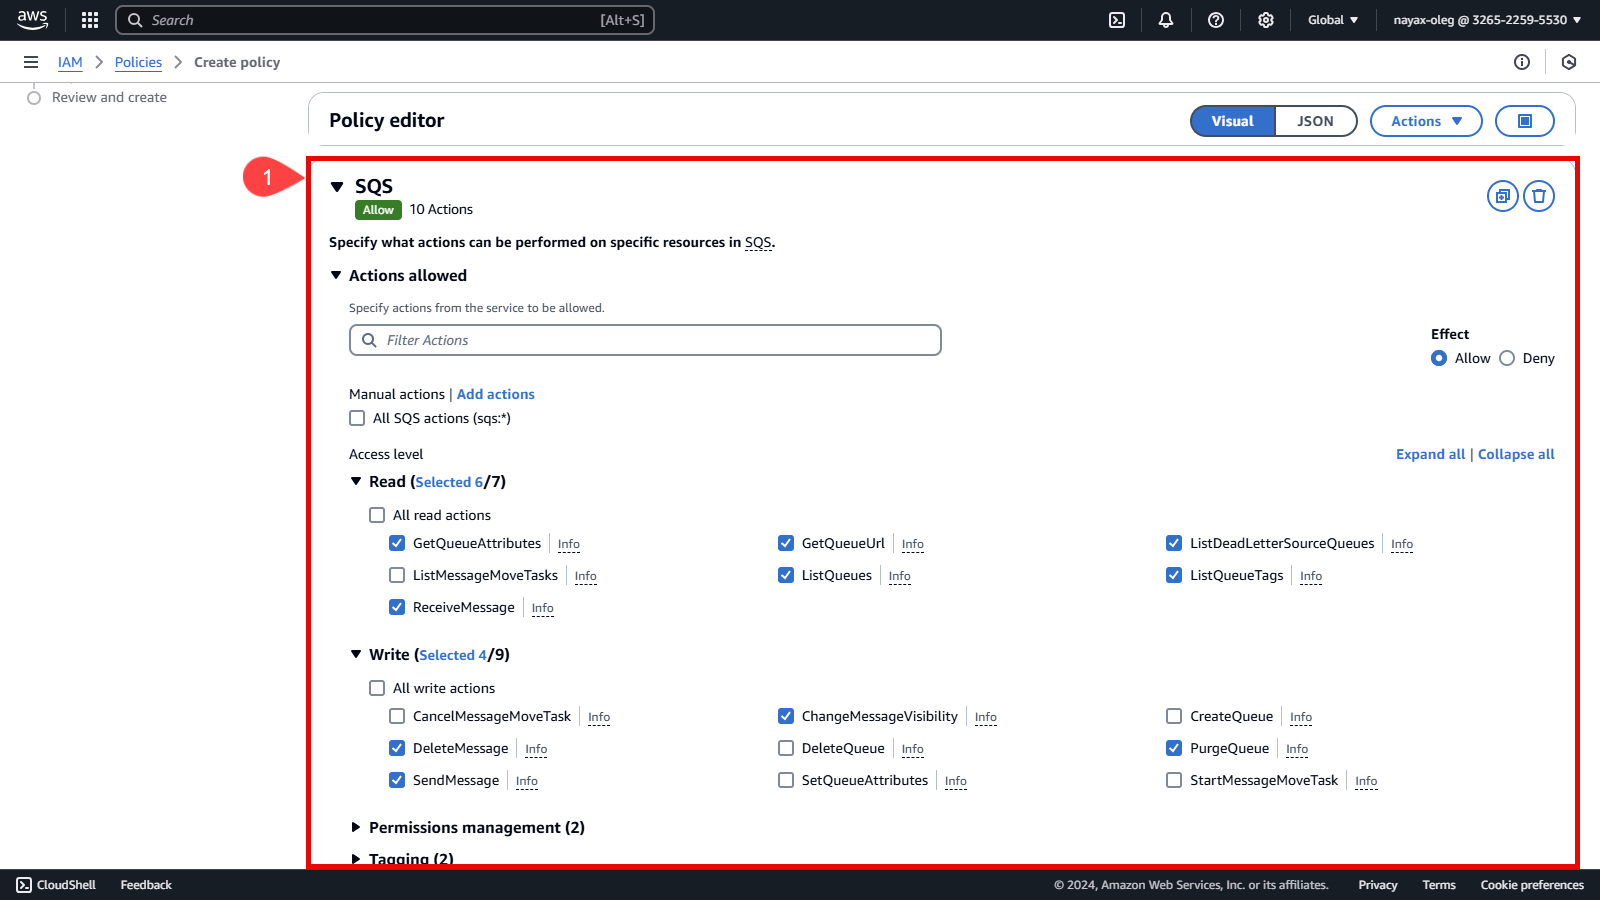
Set Permissions for SQS
Now that you’ve selected SQS as the service define the permissions needed for the queue:
-
Under Actions , select the permissions you need for the queue.
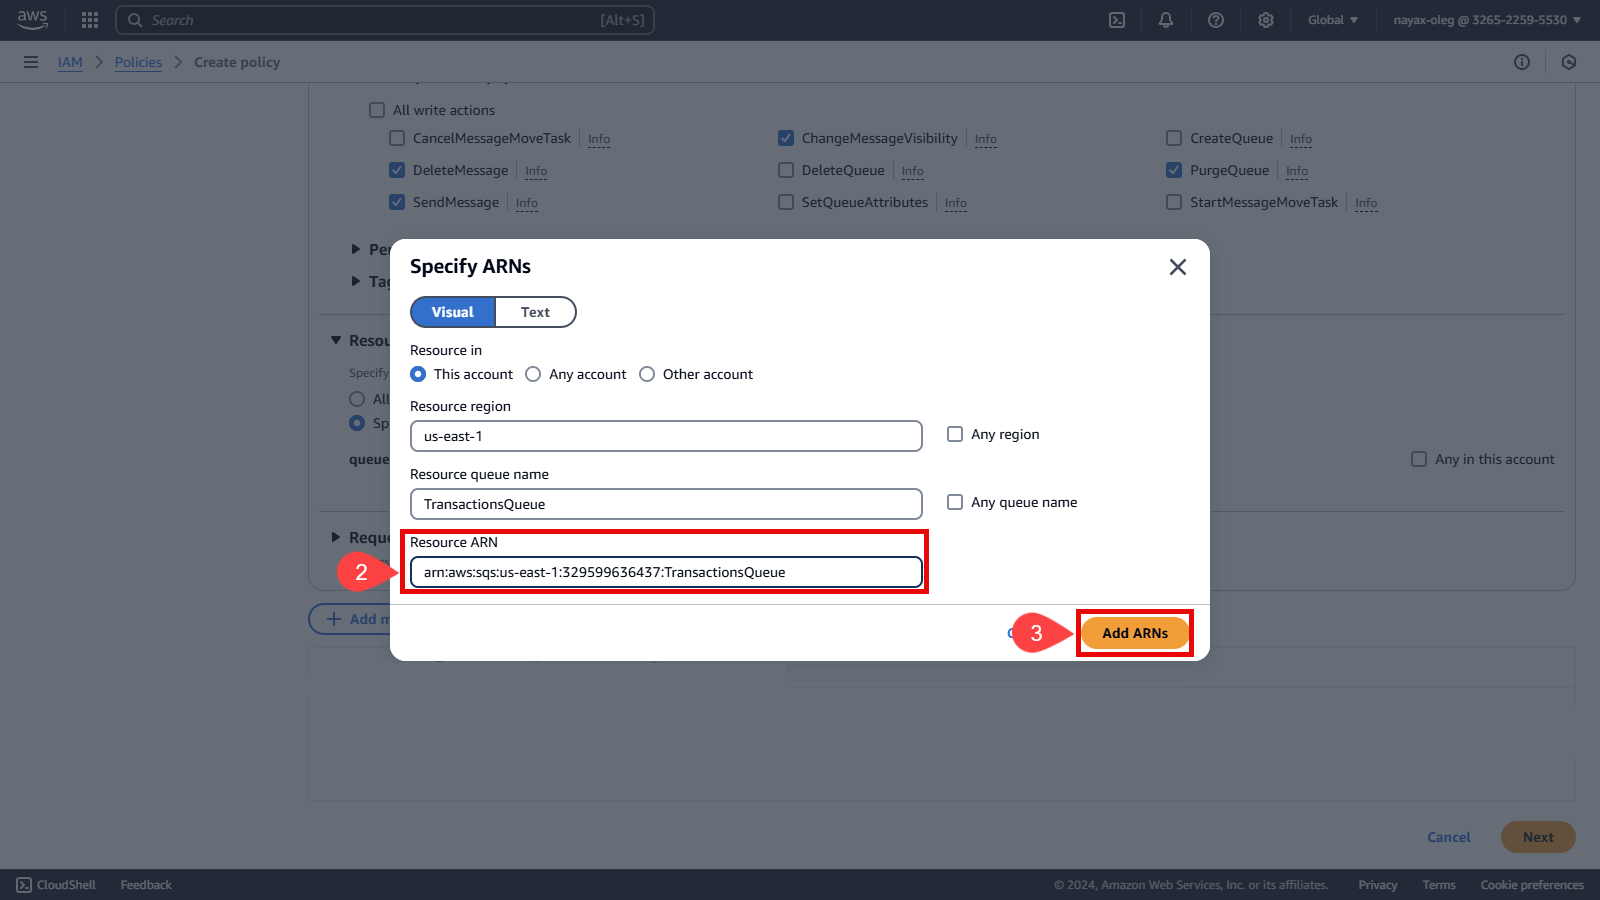
Set Policy to Specific ARN
The Policy you are creating can be assigned to any Queue. In this case, you’ll assign it to the specific queue created earlier.
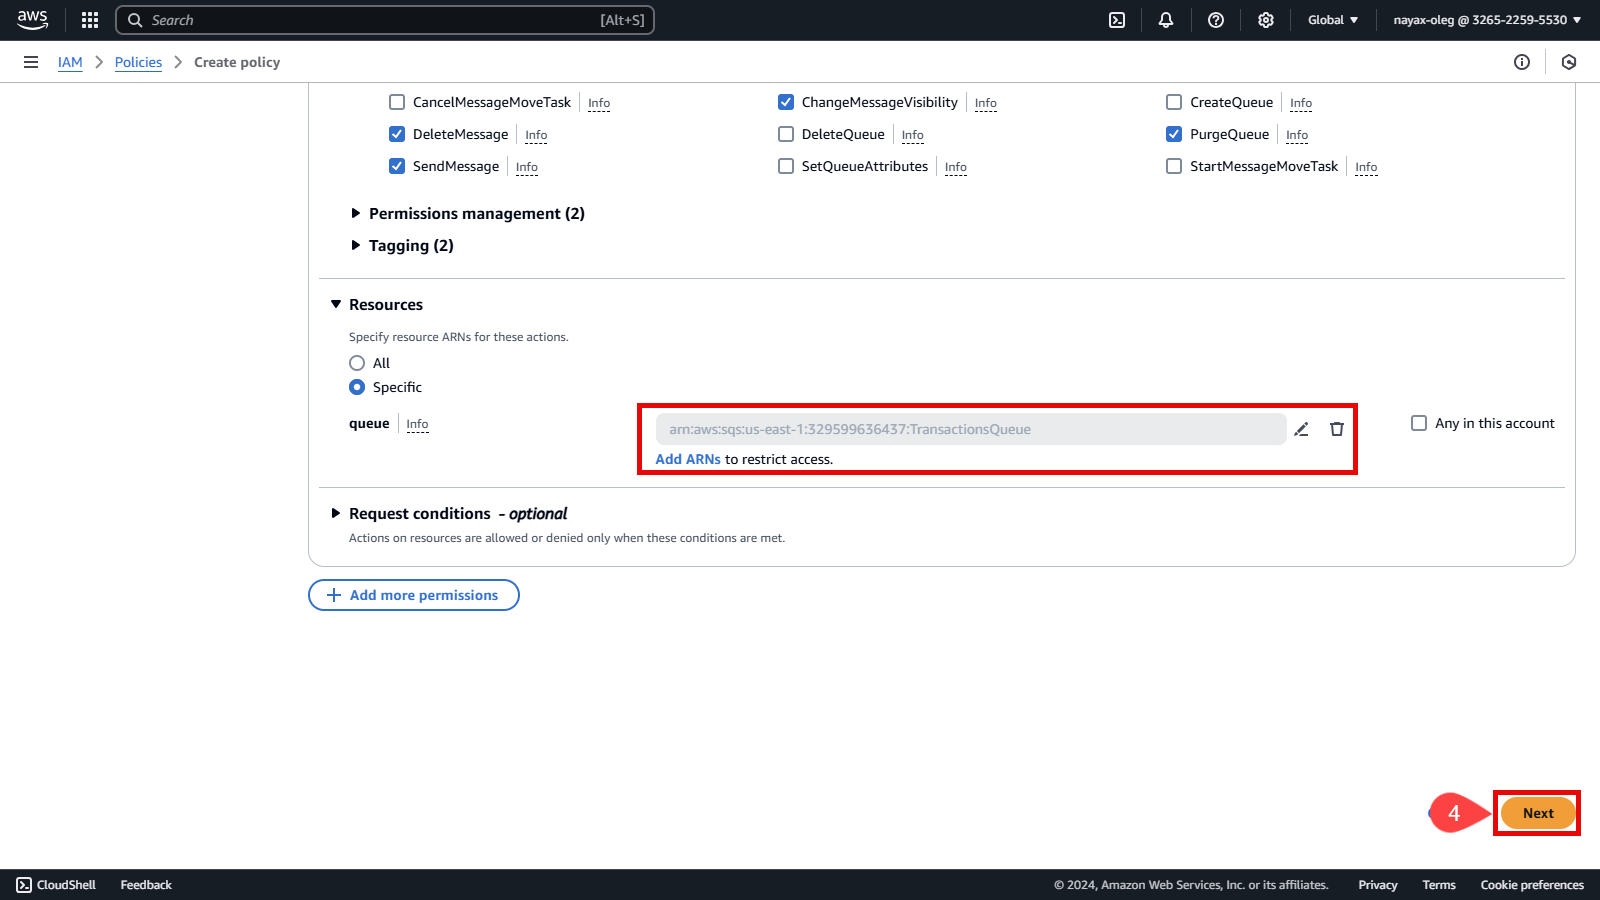
ResourcesEnsure that the Specific resource that is selected.
To Add the ARN of the previously created queue, follow these steps:
-
Click Add ARNs.

-
Enter the copied ARN in the Resource ARN field. You can find this value from the confirmation screen displayed at the end of the Create New Queue process.
-
Click the Add ARNs button.
-
Click the Next button.
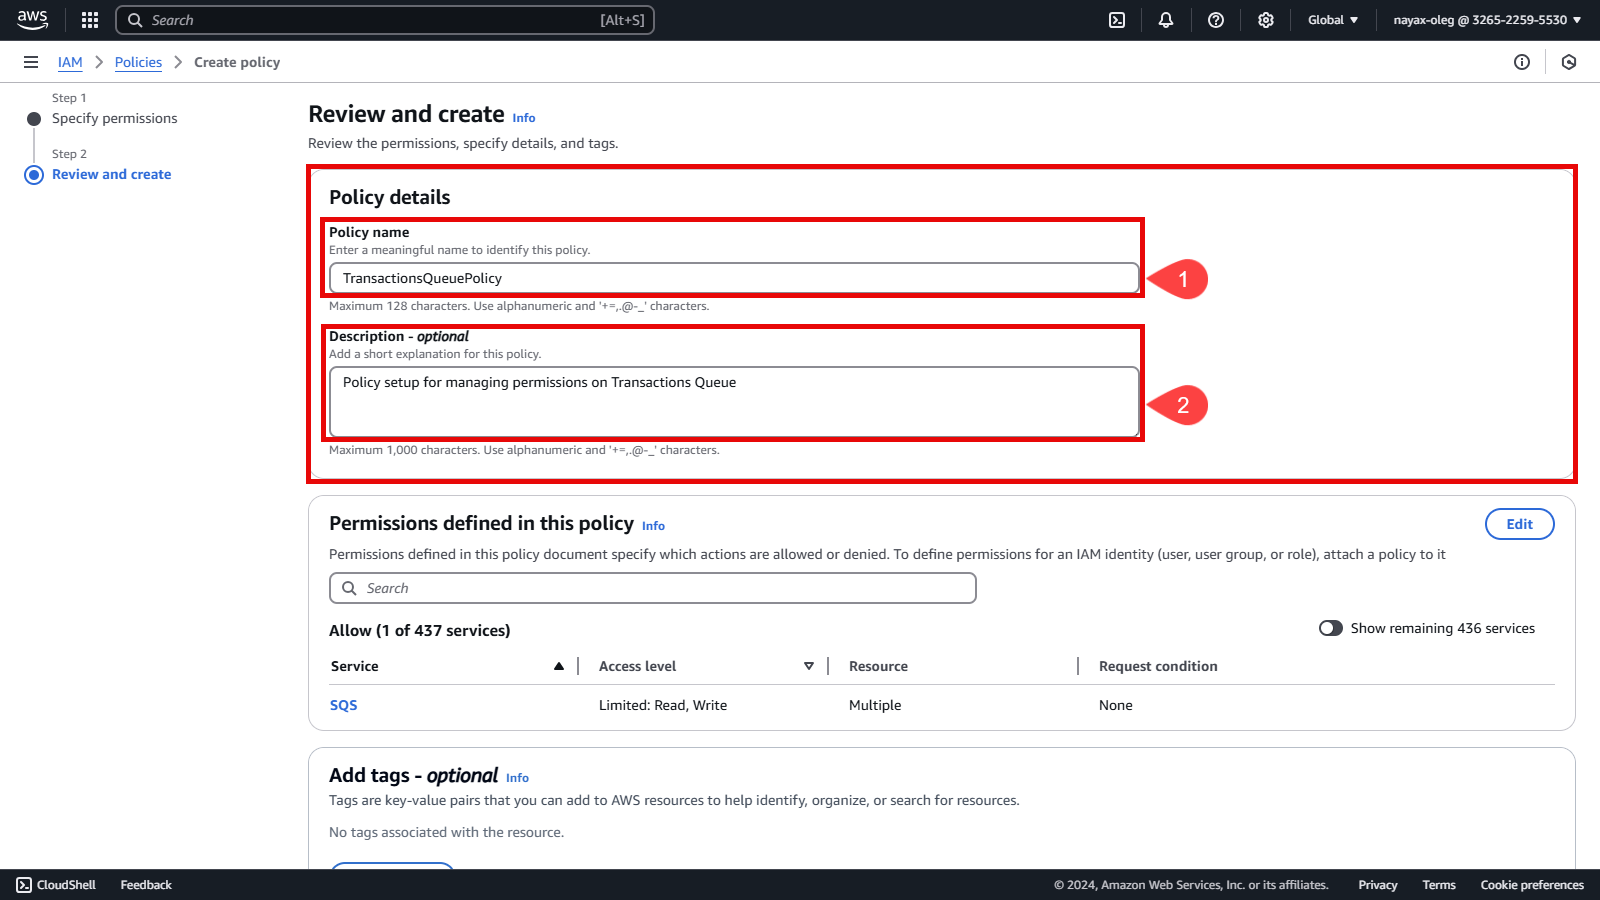
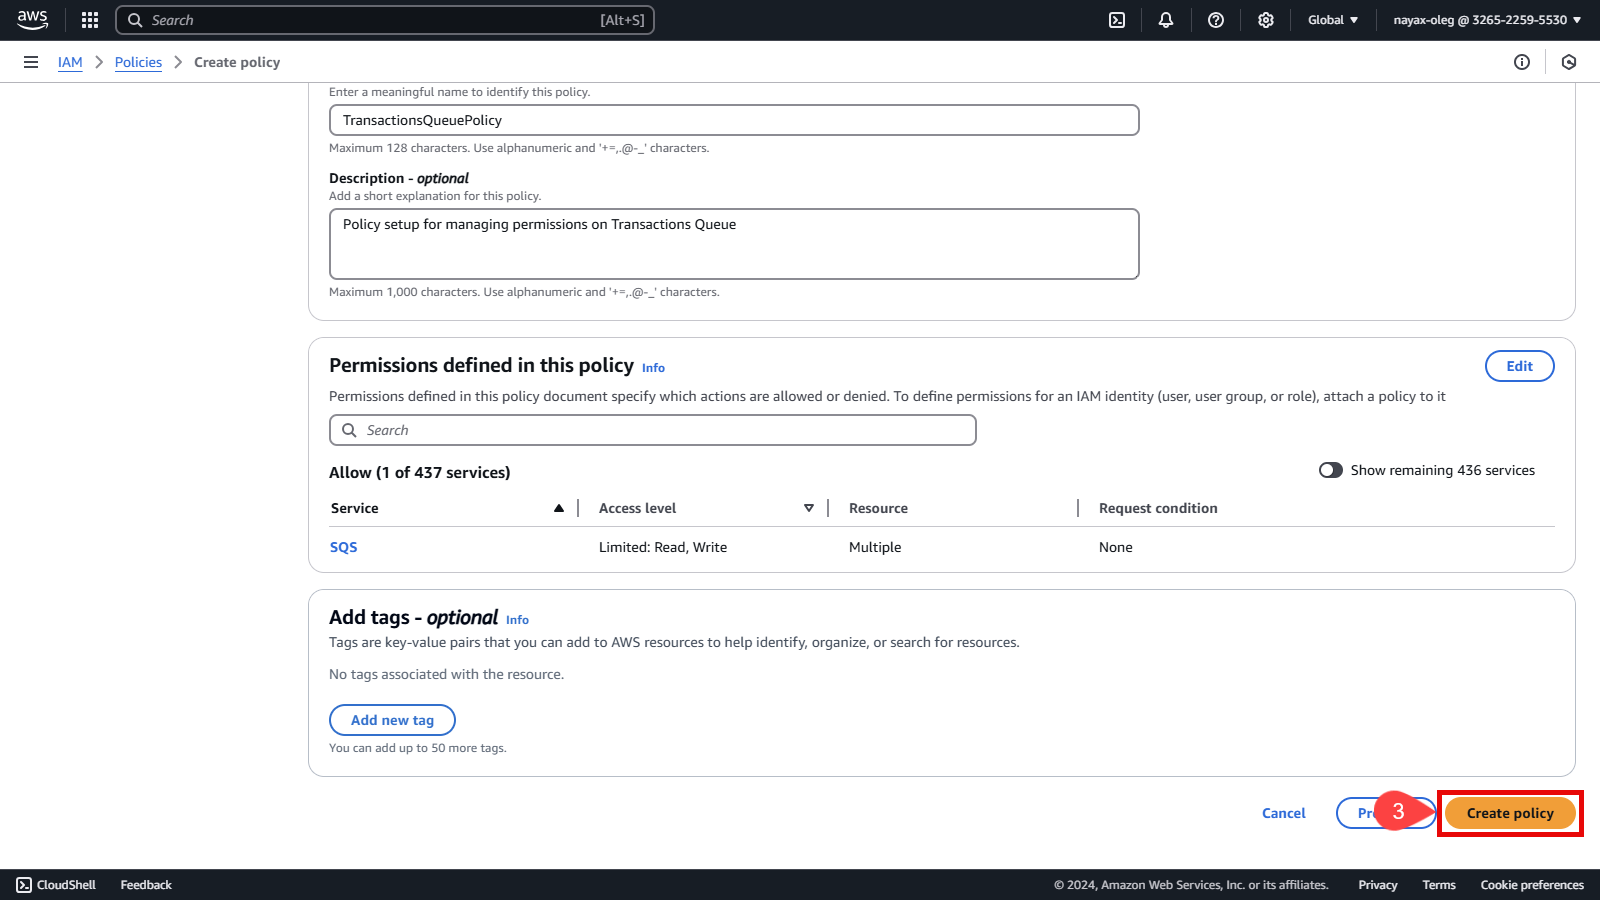
Review and Create the Policy
Before finalizing the policy, review its details to ensure all configurations are correct. This step is essential to avoid potential issues with permissions.
In the Policy details section:
-
Enter a unique name to identify this policy.
-
Add a description for this policy (Optional).
-
Finally, click the Create Policy button.
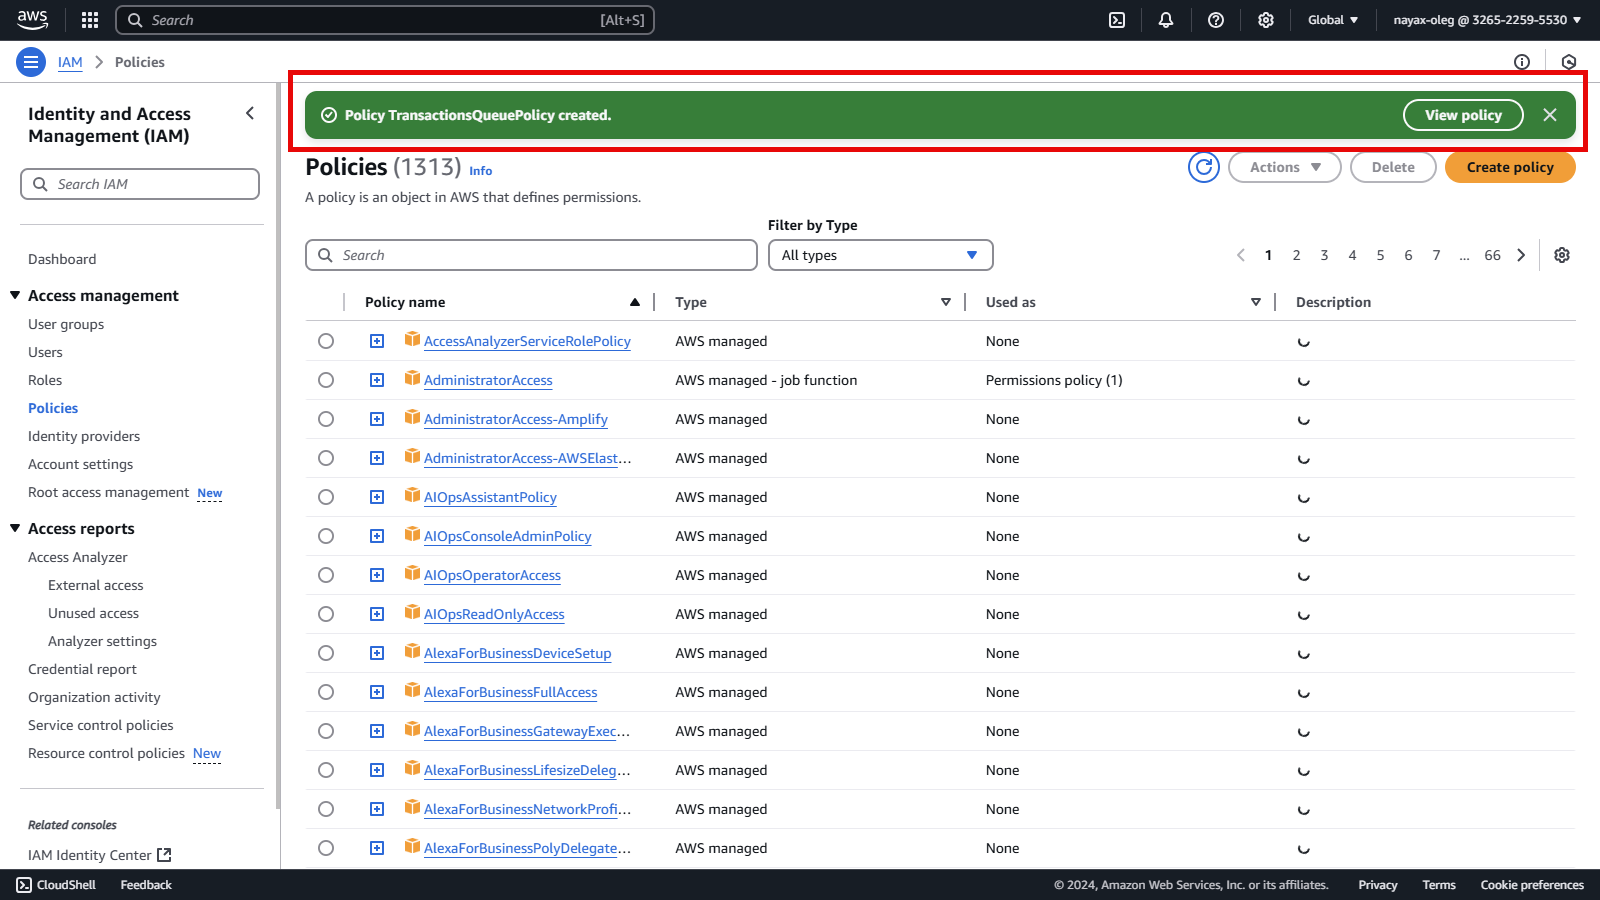
Once the policy is created, you will receive a confirmation that it has been successfully set up.
Updated 6 months ago