Installation Steps
Touch devices include all Nayax devices with touch screens, such as the Nayax VPOS Touch and Onyx. These devices are designed for advanced functions like payments, monitoring, and network management. Media devices include the newer generation of touchscreens (VPOS Media 5 and, in the near future (not yet supported), VPOS Media 4 Mini), also known as VPOS Media 4S. It is also planned on the roadmap to have VPOS Media 10.
NoteWe have VPOSM 4 and VPOSM 4S which are 2 separate devices. In the documents and manuals you'll see only mentions of VPOSM 4S as VPOSM 4 is not supporting Marshall.
Below are the steps for installing these devices correctly.
System Requirements
Before installation, the NayaxVend Management System (Nayax Core) must be updated via the backend. Please note that upon purchase, Nayax Support preconfigures the device with standard machine parameters. For specific machines, ensure the relevant parameters are updated in the system to match their requirements.
For additional support or further information, contact your local Nayax Support team.
NoteFor an integration, a SDK sample app is required to test real purchase scenarios.
Installation- VPOS Touch
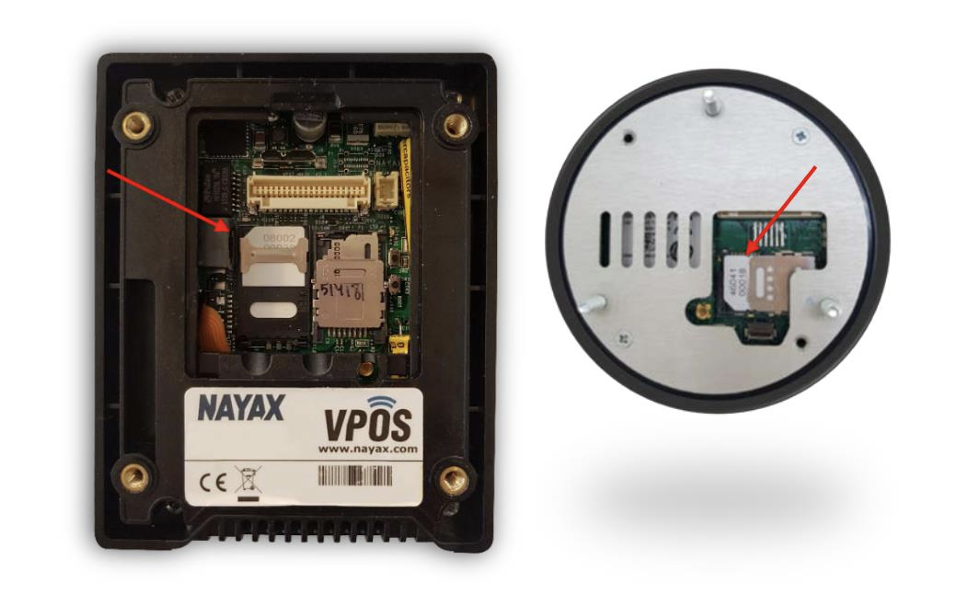
Insert SIM
By default, the SIM CAD would already be installed. If not, ensure the SIM card is ready to be inserted and installed prior to starting the integration.
-
Locate the SIM socket at the top of the device.
-
Insert the SIM card into the socket securely, ensuring it is properly fitted.
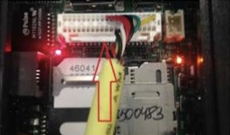
Connect Marshall Cable
Ensure all necessary components are ready before connecting the Marshall cable.
-
Insert the Touch device cable connector into the Nayax device.
-
Connect the COM 2 / Marshall connector to the PC.
-
Attach the power adaptor connector to the Marshall cable.
Set Up the Network
Now, it’s time to set up the network for your Touch device. To ensure everything runs smoothly, you must connect the cellular antenna and the LAN (Ethernet) cable.
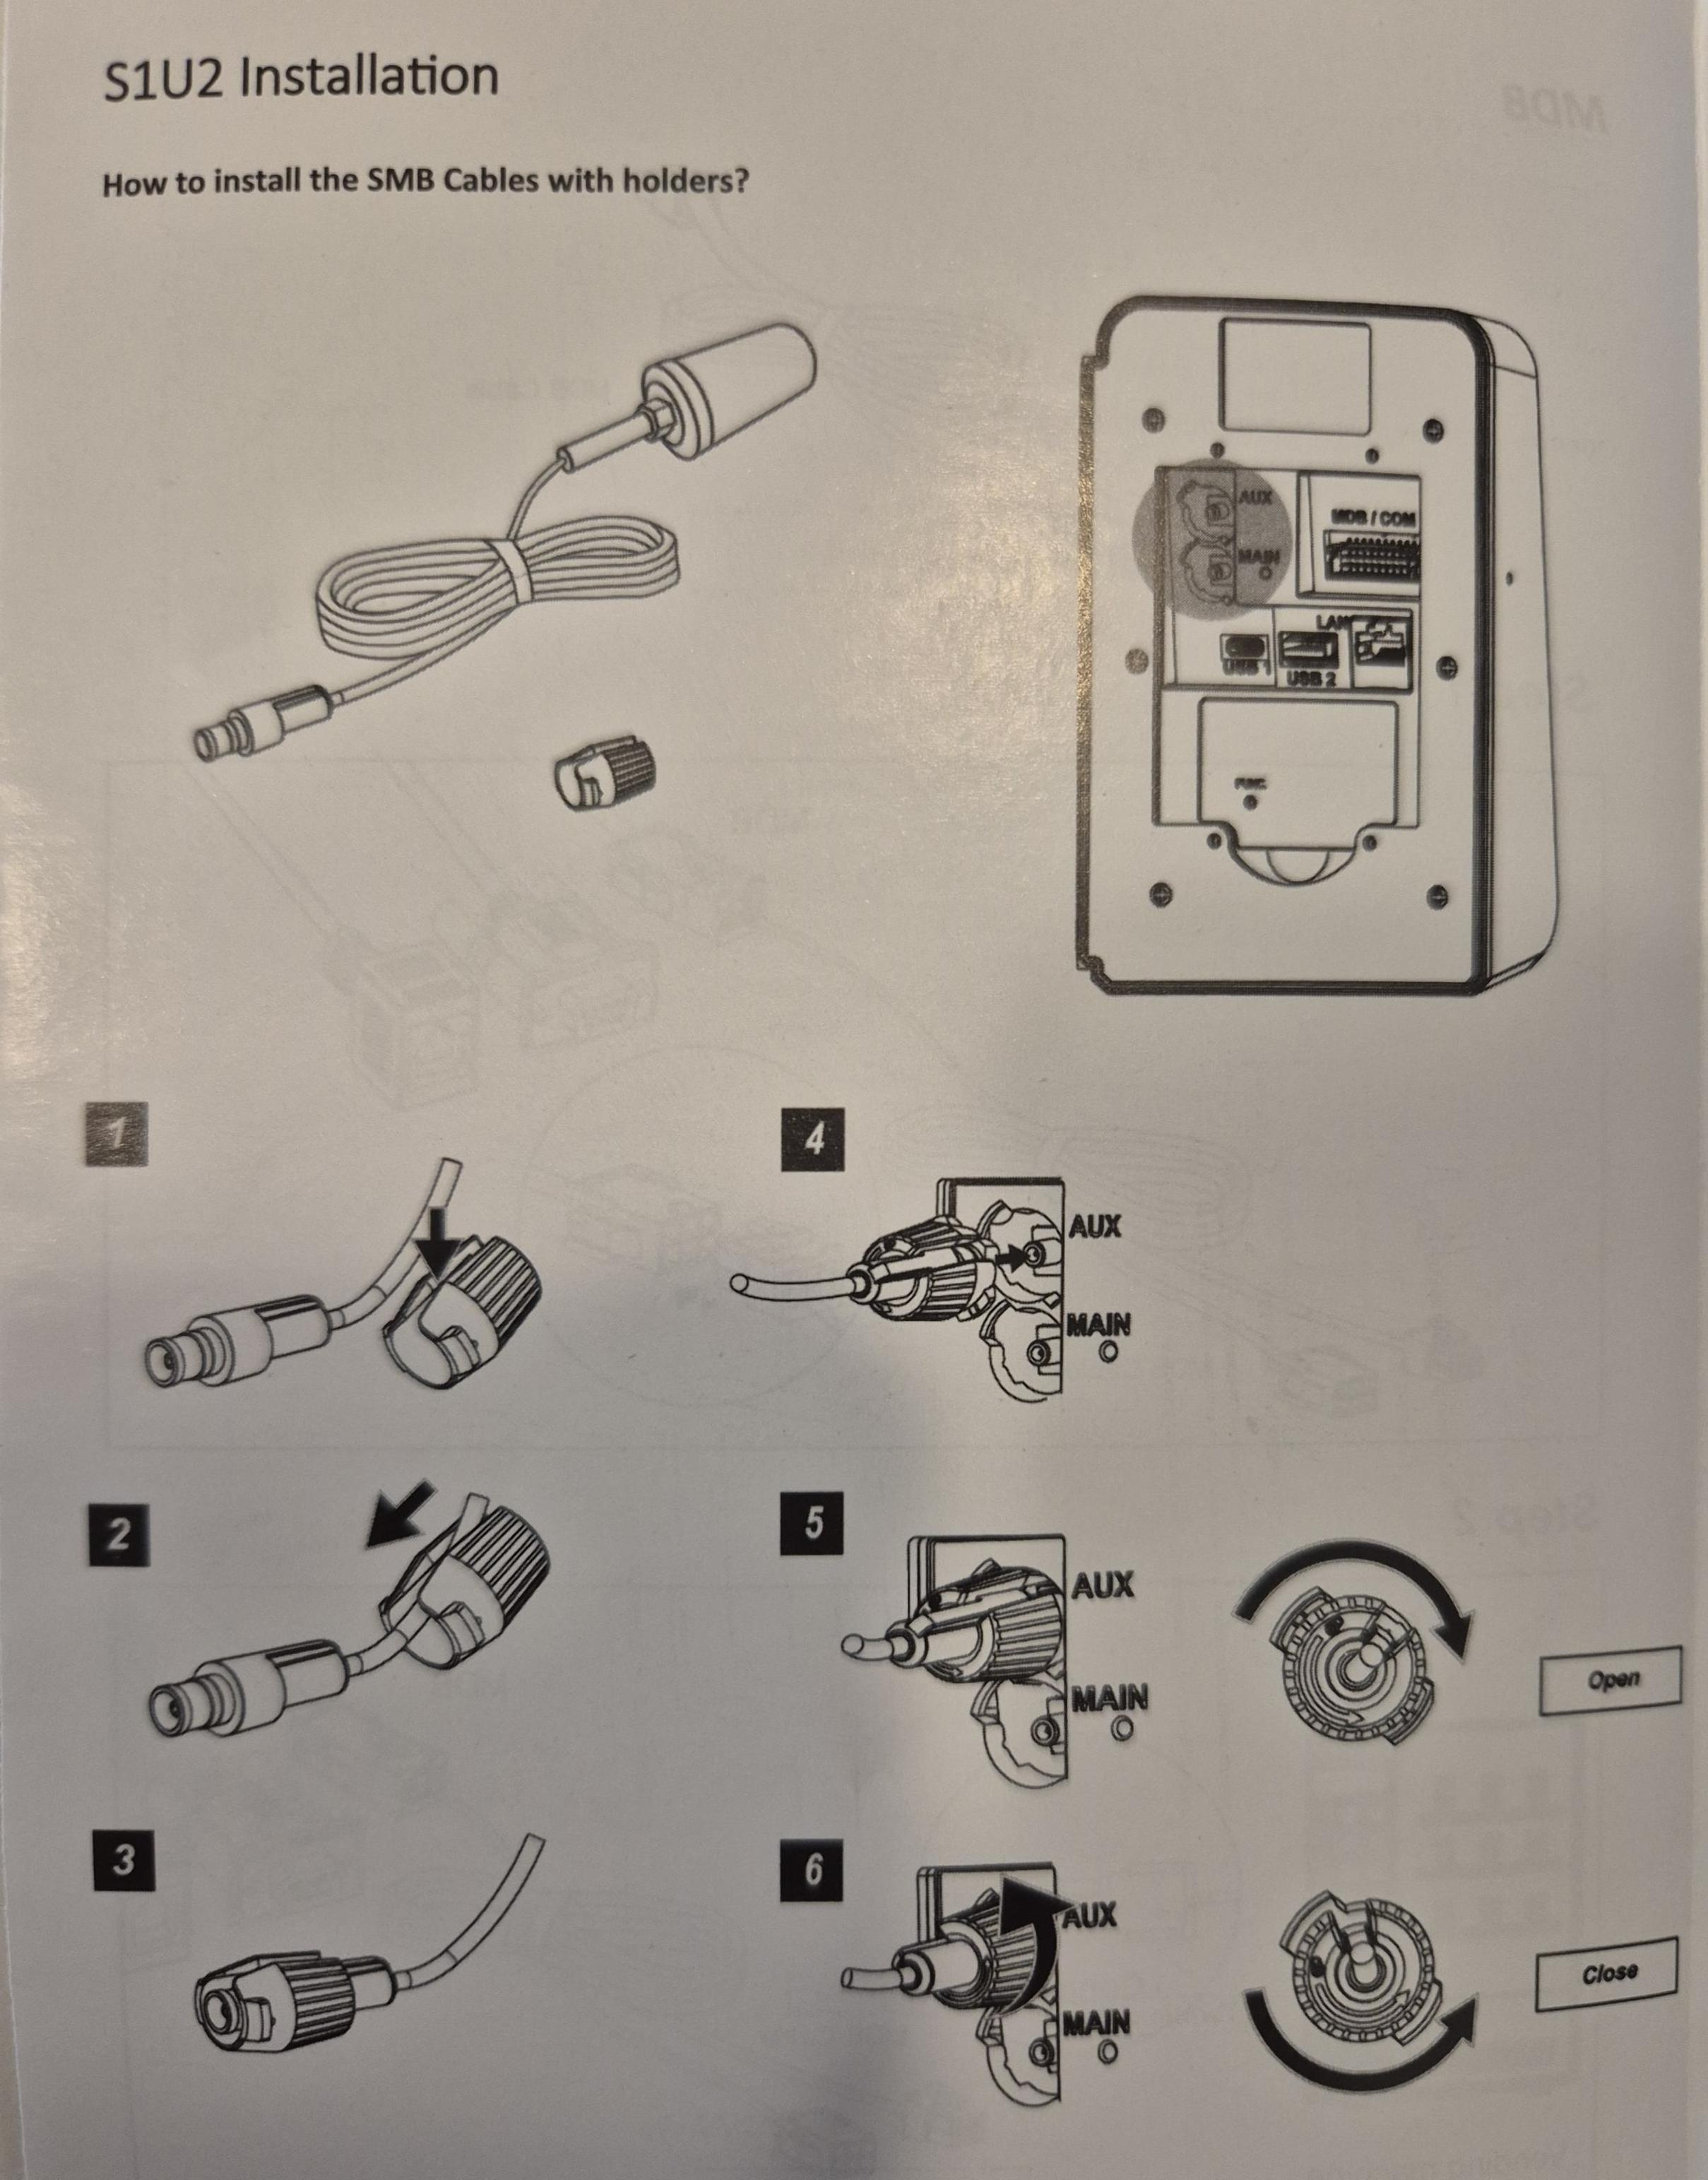
Connect the Antenna (Cellular)
To enable cellular network connectivity, follow these steps:
- Locate the SMA connector on the device.
- Connect the antenna's SMA female connector to the SMA male connector on the Touch device.

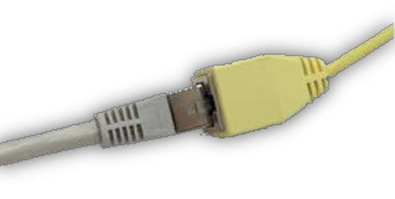
Optional- Connect the LAN Cable (Ethernet)
To set up the wired network connection, insert the Ethernet cable into the device's LAN port. Ensure the other end of the cable is connected to a router or network switch.
Ethernet Connection Priority for the device's communication with Nayax's servers (not for Marshall communication)When both Ethernet and SIM connections are active, the system automatically prioritizes the Ethernet connection. This ensures greater stability and faster network performance.
Should there be any stability issues with the ETH connection- the device would switch to the SIM for communication, and after a period of time would attempt to re-connect to the ETH.Marshall over ETH is not supported for VPOST
Installation - VPOS Media
Connect Marshall Cable
-
Insert the Media device cable connector into the Nayax device.
VPOSM5: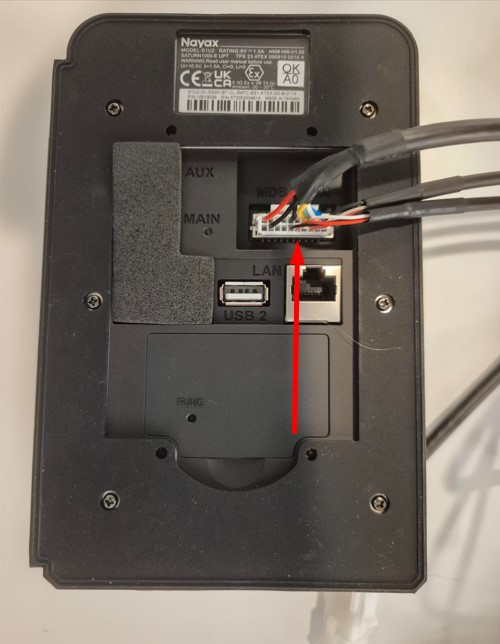
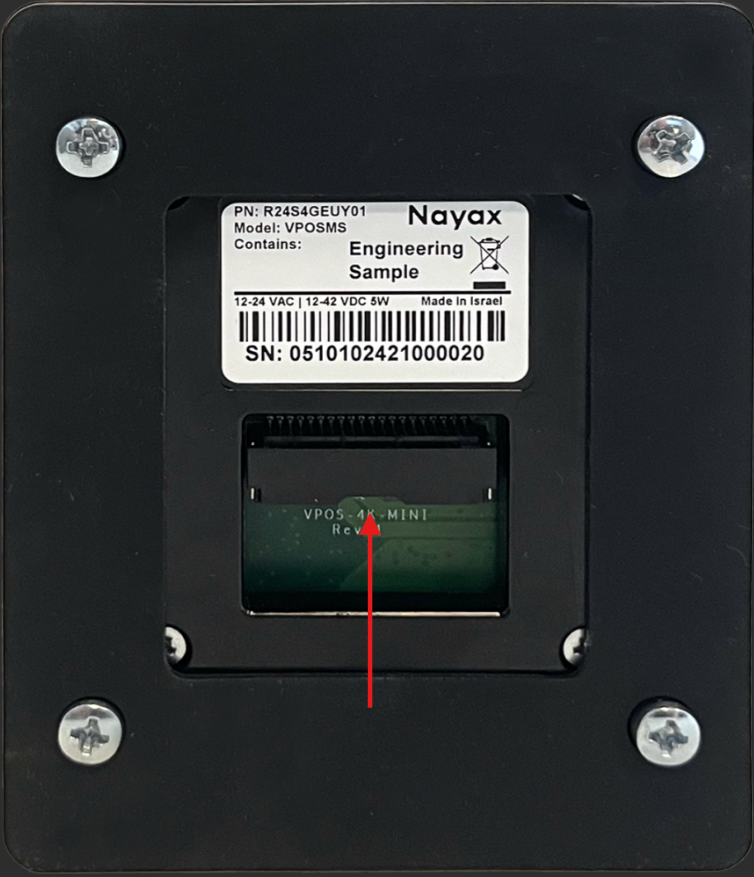
VPOSM 4S :
-
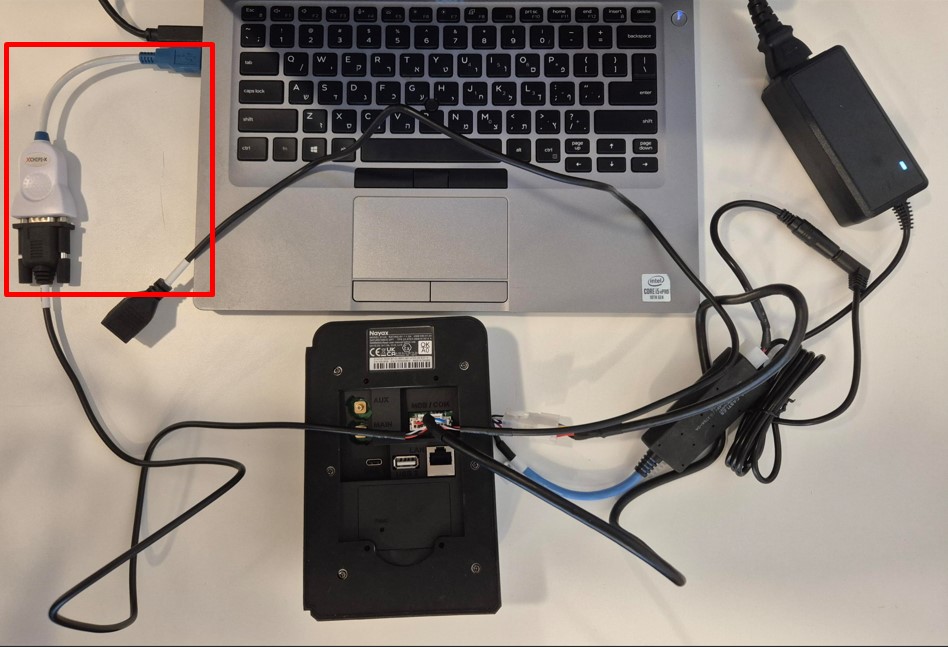
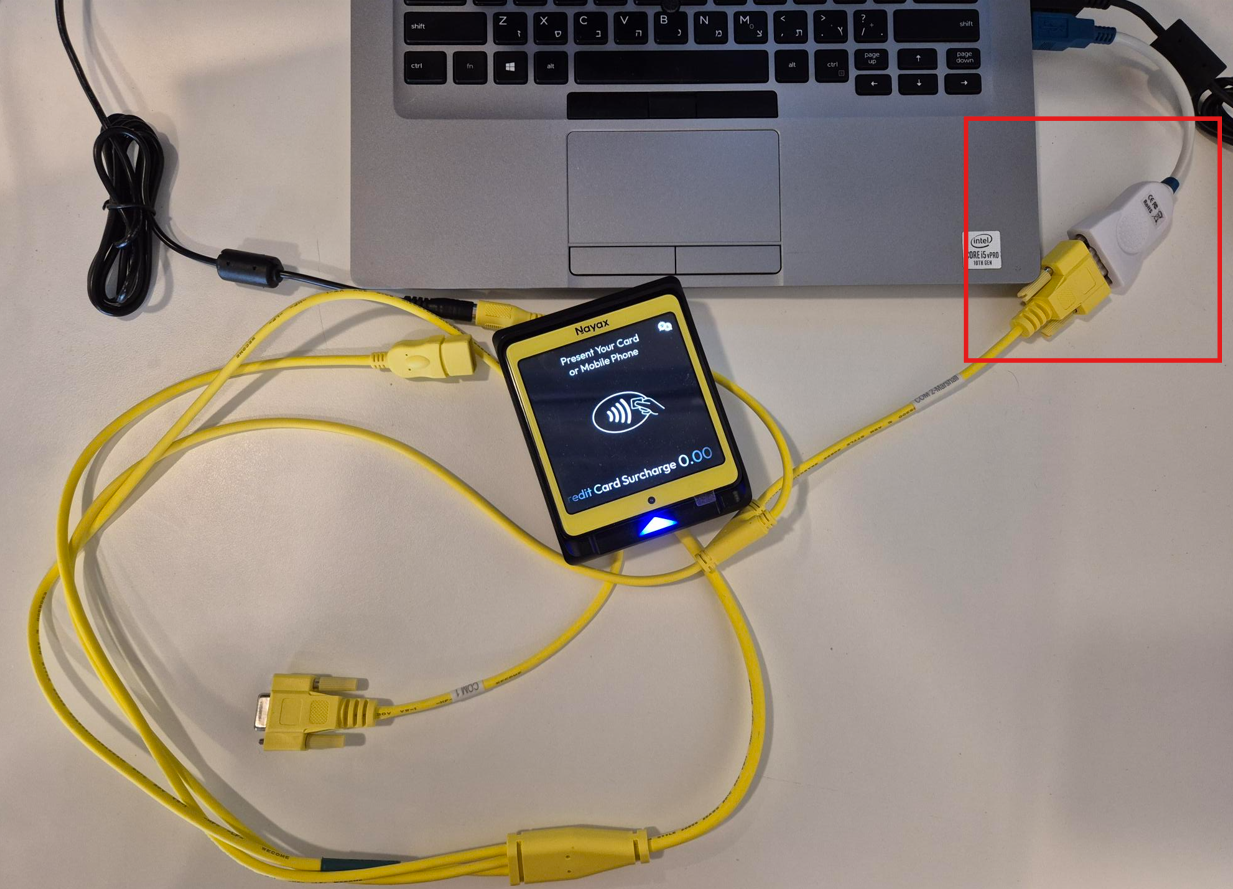
Marshall over RS232:
Connect the COM 2 (Marshall) connector to the PC either directly or via Chipi-x. Note that Chipi-x is the only USB-to-COM adapter approved by Nayax's technical team.
VPOSM5:
VPOSM 4S :
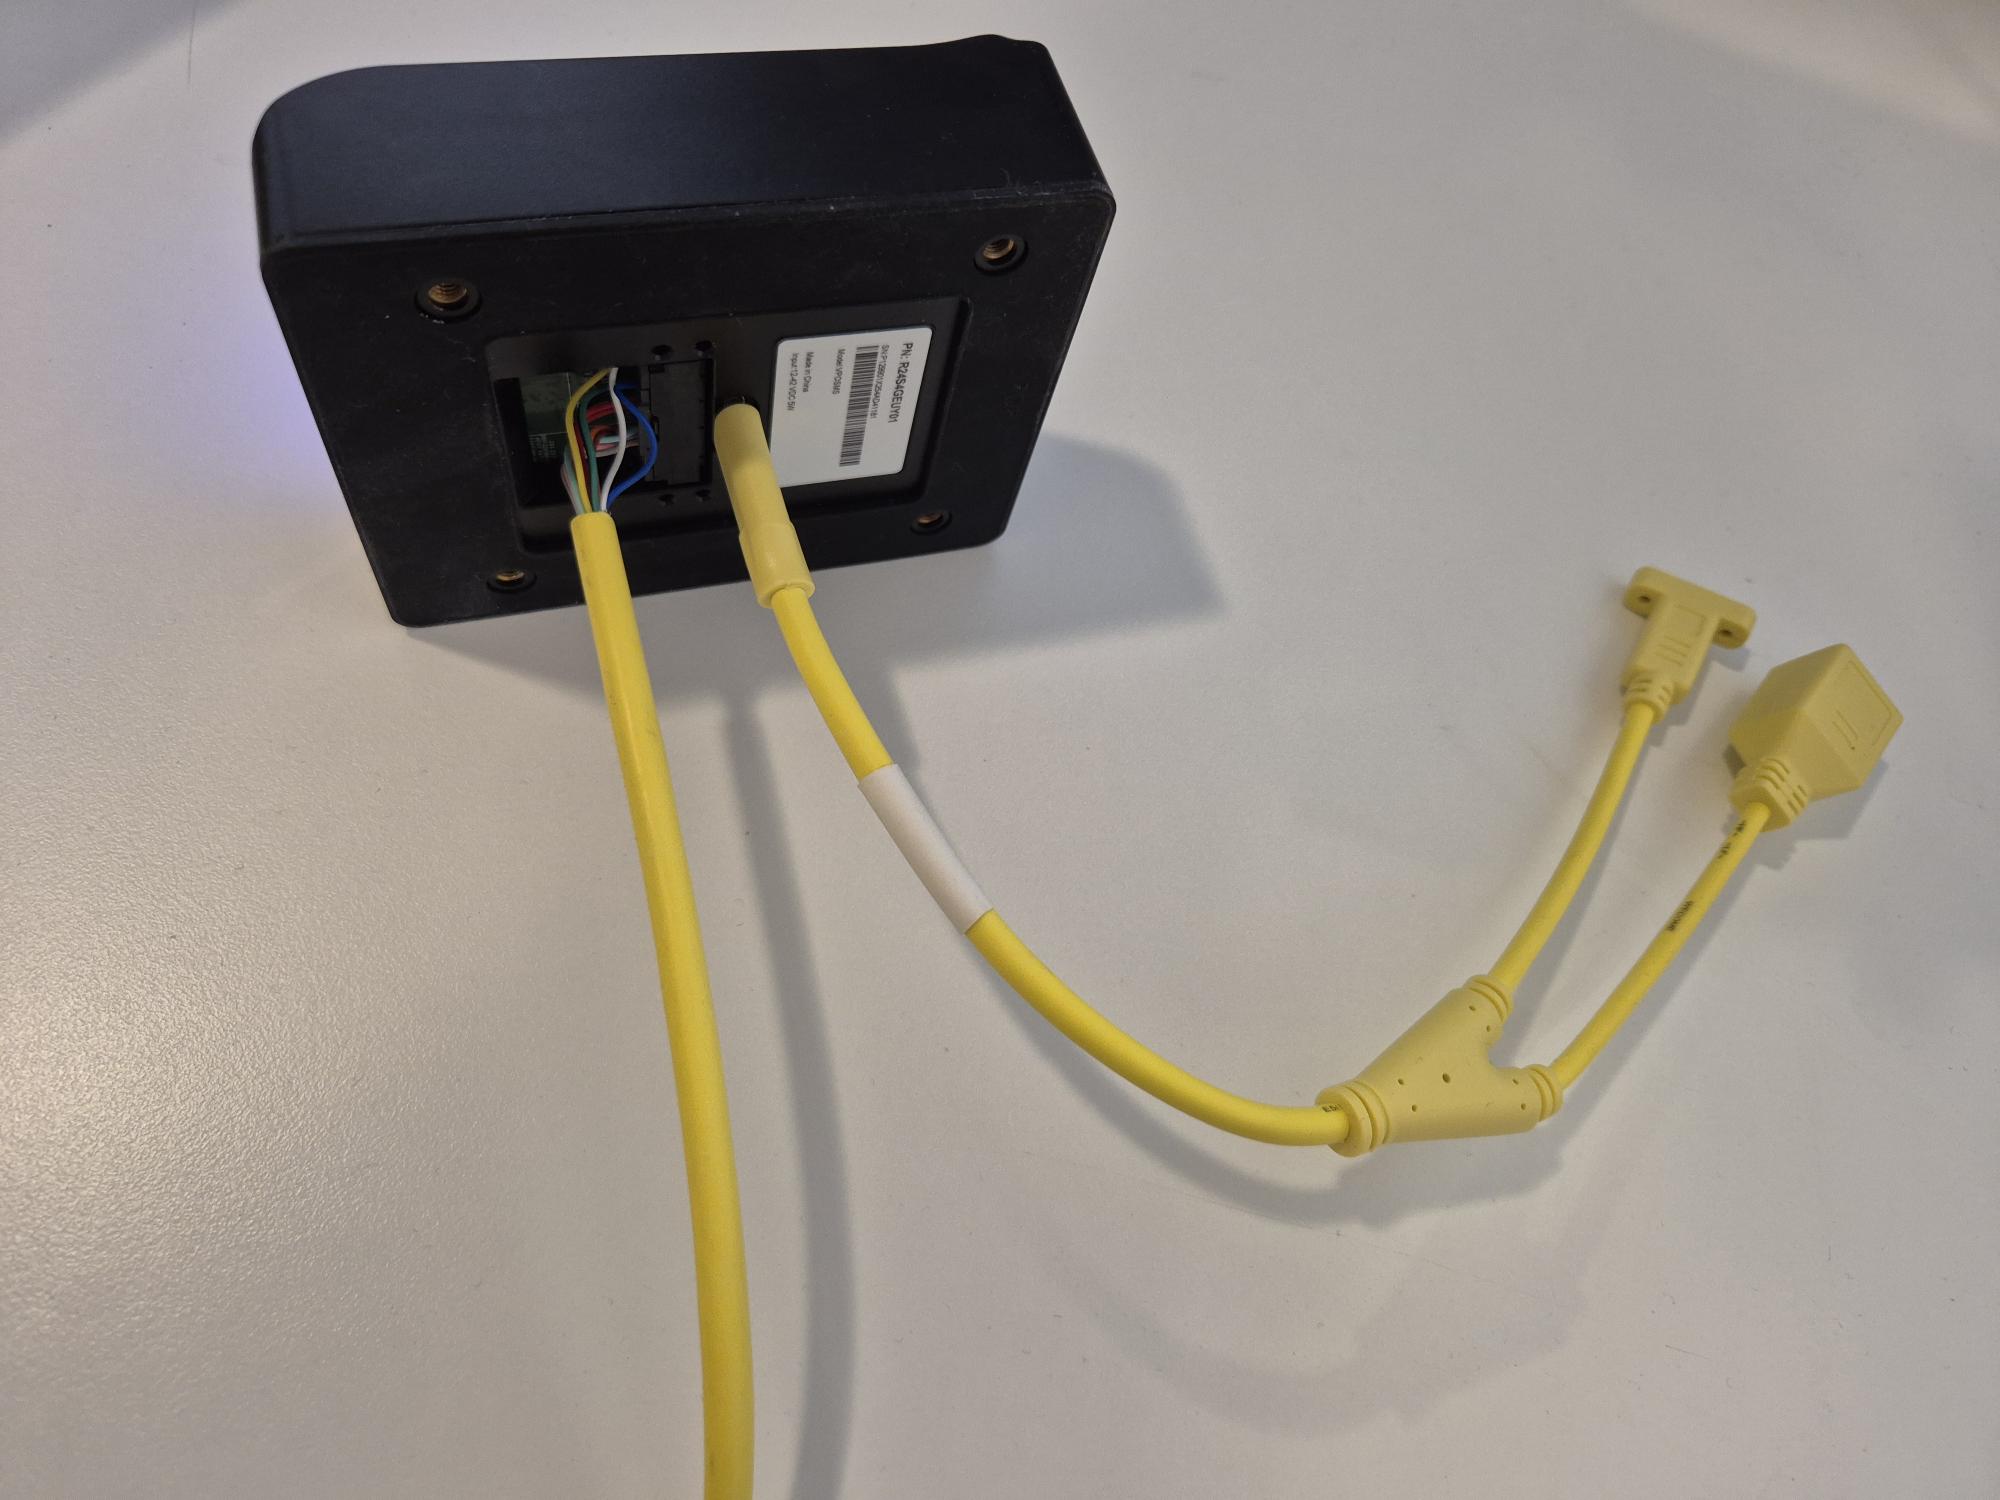
 Marshall over ETH:
VPOSM5 and VPOSM4S supports the feature of Marshall over ETH (LAN and WIFI).
In that case, you can either connect your LAN connector to the device:
VPOSM5: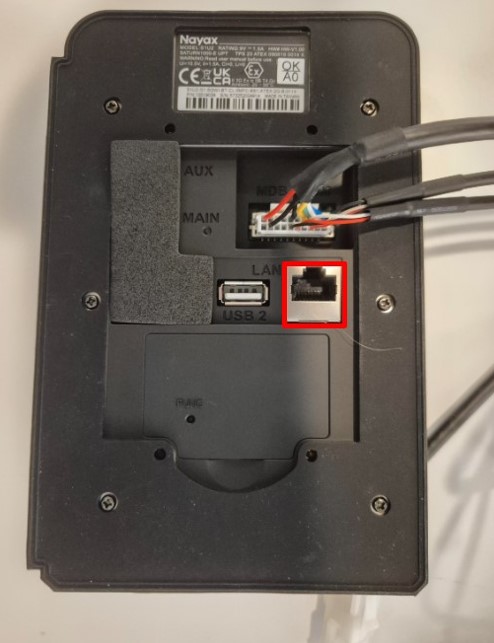 VPOSM4S:
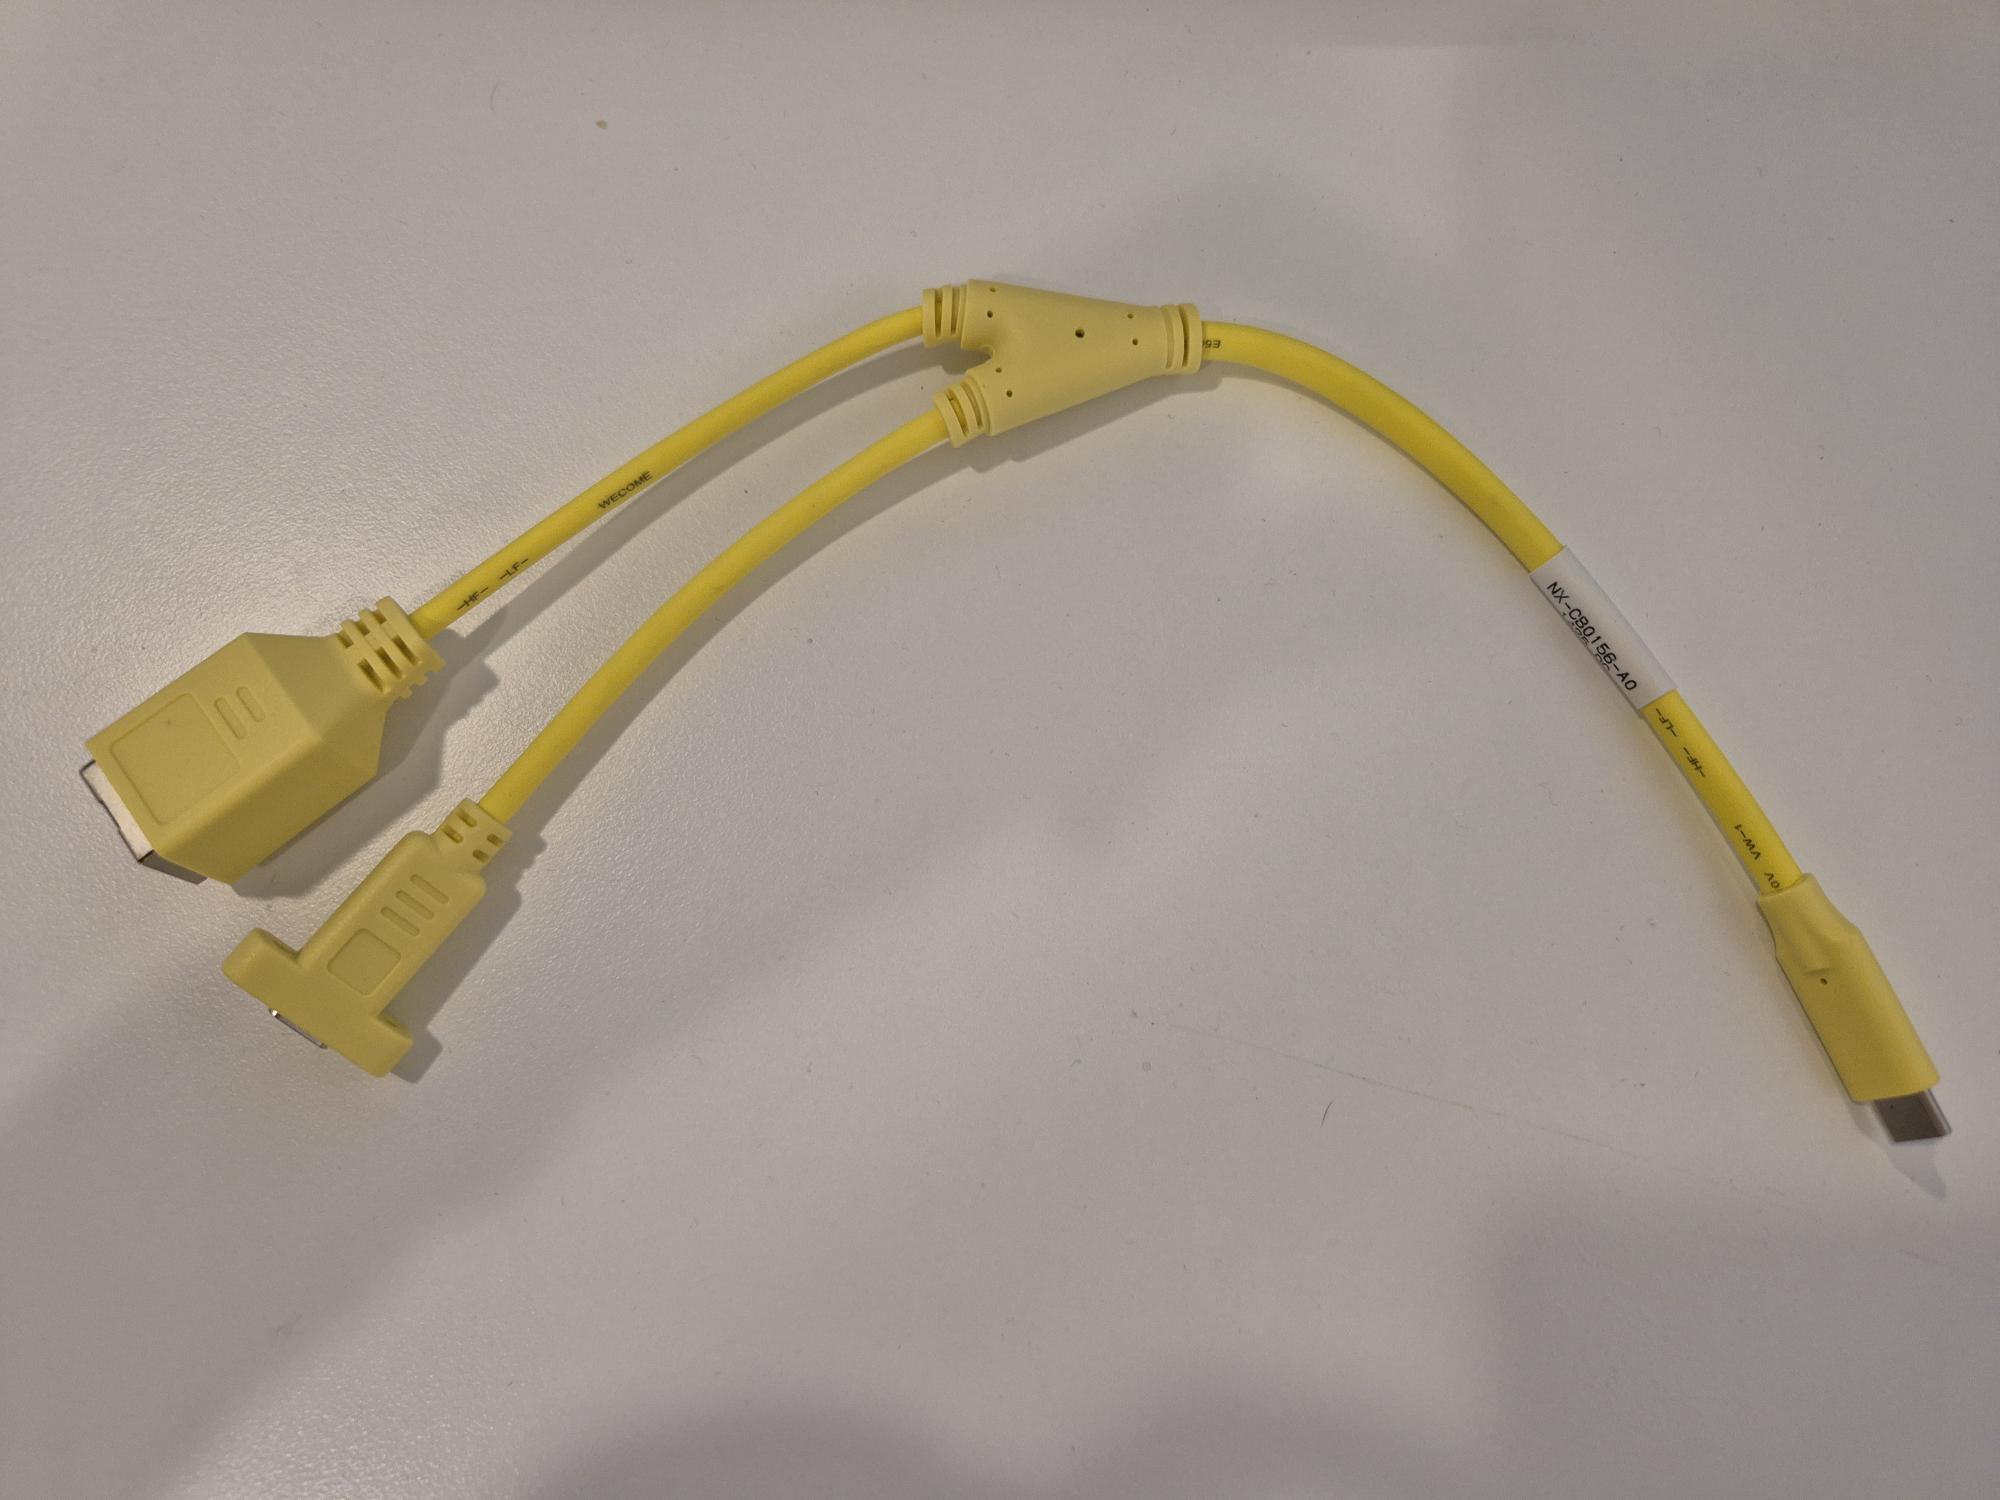
You'd use the USB-C-to-RJ45 connector cable (purchased separately) and connect it to the back of the device
Or you can connect the device (VPOSM5/ VPOSM4S) to your WIFI network.
NoteThe VPOS Media should be connected to the same local network as the peripheral.
- For VPOSM5: Connect the antenna (optional if using ETH). As the manual that comes with the VPOS Media explains, put in the antenna:
For VPOSM4S the antenna is built-in into the device itself (you won't see it, as it's inside of the device).
Updated 8 days ago